.jpg)
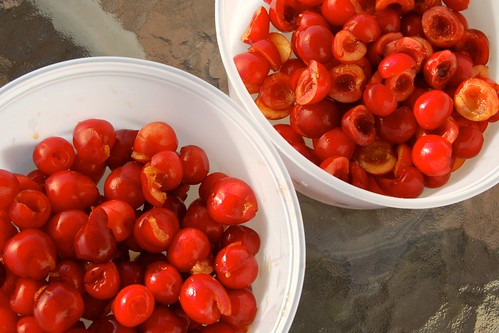
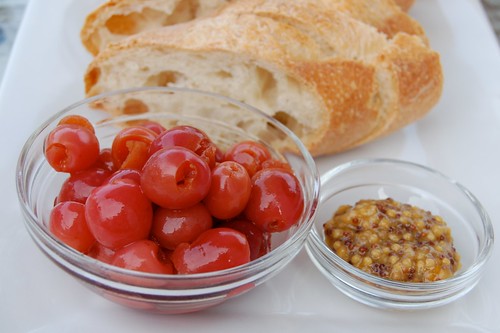
I find myself with a tremendously full freezer. I still have a TON of duck fat leftover from my finals, plus three different kinds of stock. Also half a recipe of pie crust from a month ago, half a bag of cherries from some recipe testing I'm doing, some ground lamb and beef, a little bit of pesto and the odd banana. It is ridiculous, and I'm trying to clear it out a little bit... so I can start adding to it. Hatch chiles will be in stores in a couple of weeks, and I'm ready to make some pesto. I managed to shove some sour cherries in there, but there are more things coming that I'll want to freeze for the winter, and Adam has not yet relented to my "pleeeease can we get another little freezer" whining. SO. It's time to start using up my freezer stash, starting with these fritters.
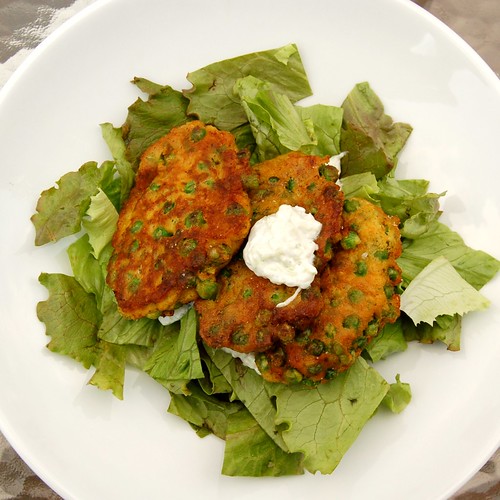
I was thinking about samosas when I found half a bag of frozen peas, but fritters are easier (no dough to roll out!) and I'm on kind of fried food kick lately. We ate them on top of a green salad with some cucumber yogurt sauce, and I liked how the peas popped in the mouth. So, any suggestions for convincing Adam we need another freezer?
Curried Pea and Potato Fritters
inspired by Ratio
makes 8 good size fritters
1 small 4-6 ounce russet potato
1 1/2 cup peas, blanched if fresh, rinsed if frozen
1/4 cup flour
1 tsp baking powder
1/2 teaspoon salt
2 teaspoons curry powder
1/2 teaspoon cumin
pinch cayenne
1/2 cup water
1 egg
canola or vegetable oil for frying
Cook the potato however you like. I stuck mine in the microwave, and because it was small, it only took about 5 minutes to cook through. You could also bake, steam, or boil it. However you cook it, all you want is the flesh, so scoop it out of the peel. (Then sprinkle some salt on the peel and eat it. Potato skins. Yeah.) You should end up with about half a cup of potato. Stir the peas into the potato.
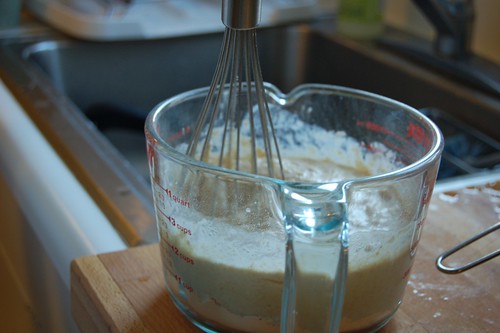
Whisk together the flour, baking powder, salt, curry powder, cumin and cayenne. In a separate bowl, whisk together the egg and water. Add the dry ingredients to the liquid and whisk to combine. Add most of the fritter batter to the peas and potato, and stir. Don't add it all at once, you just want enough to hold it all together. If it's too firm, add the rest of the batter.
Heat about a 1/4 inch of canola oil in a skillet over medium high heat, and spoon the batter in (I used a 1/4 cup measure). Depending on how big your skillet is you will need to work in batches. Fry until golden, 3-4 minutes on each side. Remove from the pan and drain on paper towels for a couple of minutes, then eat with yogurt sauce, salad optional.
Cucumber Yogurt Sauce
makes about a cup
1 medium cucumber, peeled, seeded, shredded
1 cup greek yogurt
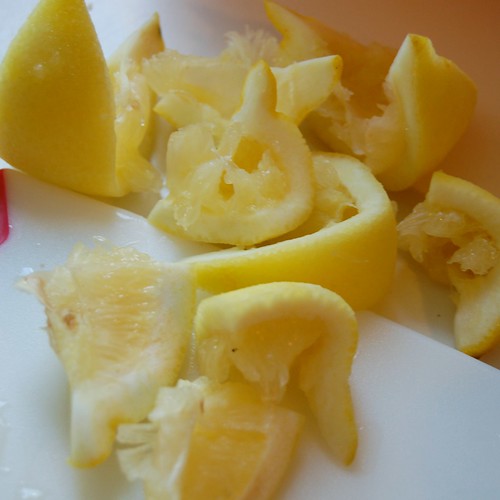
lemon juice
salt and pepper
Put the shredded cucumber in a strainer and toss it with a big pinch or two of salt. Put the strainer over a bowl and let the cucumber drain for half an hour or so. Be amazed at how much water comes out of one vegetable. Press the cucumber to remove as much liquid as possible, then add it to the yogurt. Season with a squeeze of lemon juice and some pepper, taste it, and see if it needs more salt. Keep it in the fridge until you're ready to eat it.